Ingredients
- Whole Wheat Flour
- Oatmeal
- Peanut Butter
- Carrots
- Egg
- Parsley
Instructions
- Step 1: Preheat Your Oven: Begin by preheating your oven to 350°F (175°C). This step is crucial as it ensures the treats bake evenly, creating that perfect crunchy texture that dogs love. While waiting, you can dance around the kitchen like no one is watching—your pup might even join in!
- Step 2: Mix the Dry Ingredients: In a large bowl, combine whole wheat flour and oatmeal. Stir them together until well mixed. This dry mix serves as the foundation for our tasty treats, providing essential nutrients while keeping them chewy yet crunchy. Get ready for some serious tail-wagging action!
- Step 3: Combine Wet Ingredients: In another bowl, mix peanut butter, grated carrots, egg, and finely chopped parsley until smooth. This mixture will give your treats their unique flavor profile—your dog won't be able to resist! Use a spatula or even your hands (just wash them first) to blend everything together thoroughly.
- Step 4: Combine Wet and Dry Mixtures: Add the wet mixture into the dry ingredients bowl. Stir until everything is combined into a dough-like consistency. If it feels too sticky, add a bit more flour; if too dry, splash in some water. Make sure it’s just right so your pup enjoys every nibble!
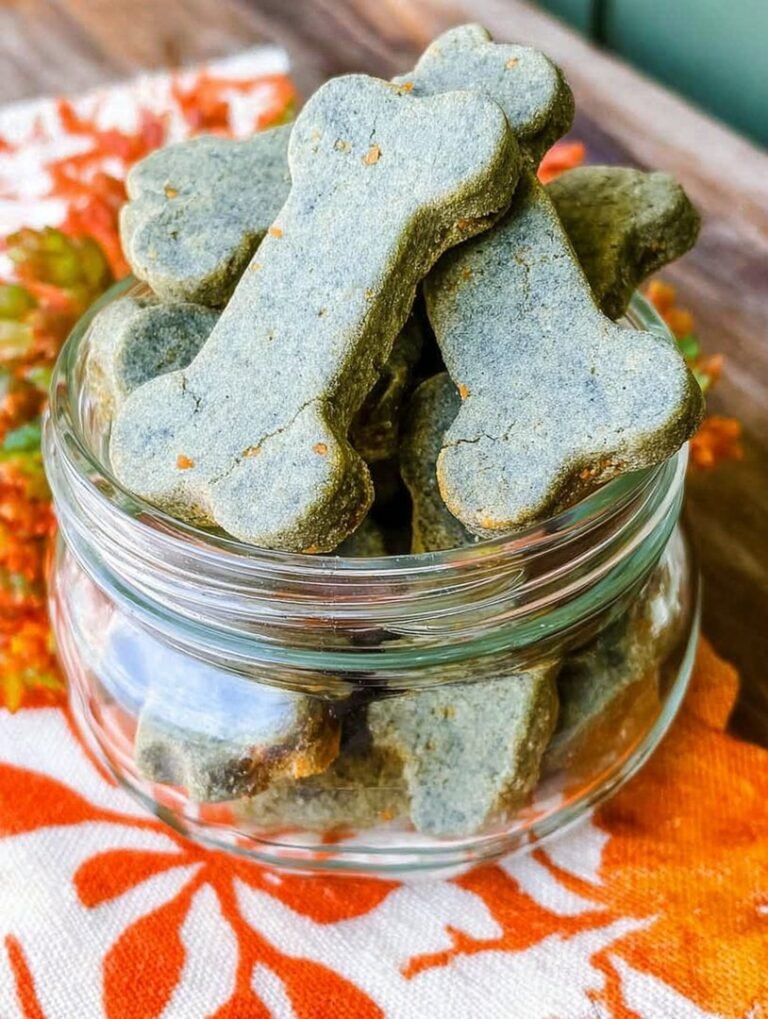
- Step 5: Shape the Treats: Dough in hand, roll it out on a floured surface to about half an inch thick. Use cookie cutters in fun shapes like bones or hearts (because love is what it's all about!) to cut out individual treats. Place them on a baking sheet lined with parchment paper for easy cleanup.
- Step 6: Bake and Cool Down: Bake those delicious bites in the preheated oven for about 20-25 minutes or until they turn golden brown. Once baked, let them cool completely before serving them to your furry friend; warm treats can be tempting but may lead to burnt tongues—and we don’t want that!
Notes
- For optimal freshness, store the dental treats in an airtight container at room temperature for up to a week, or refrigerate them for longer shelf life.
- If your pup prefers warm treats, you can gently reheat them in the microwave for a few seconds—just be sure to check the temperature before serving to avoid any surprises!
- Serve the treats as a reward during training sessions or as a special snack after a walk, and watch those tails wag with excitement!
- To make the treats even more nutritious, consider adding finely chopped spinach or sweet potatoes to the wet mixture for an extra boost of vitamins and flavor that your dog will love.
- Prep Time: 15 minutes
- Cook Time: 20 minutes
- Method: Stovetop
- Cuisine: American