
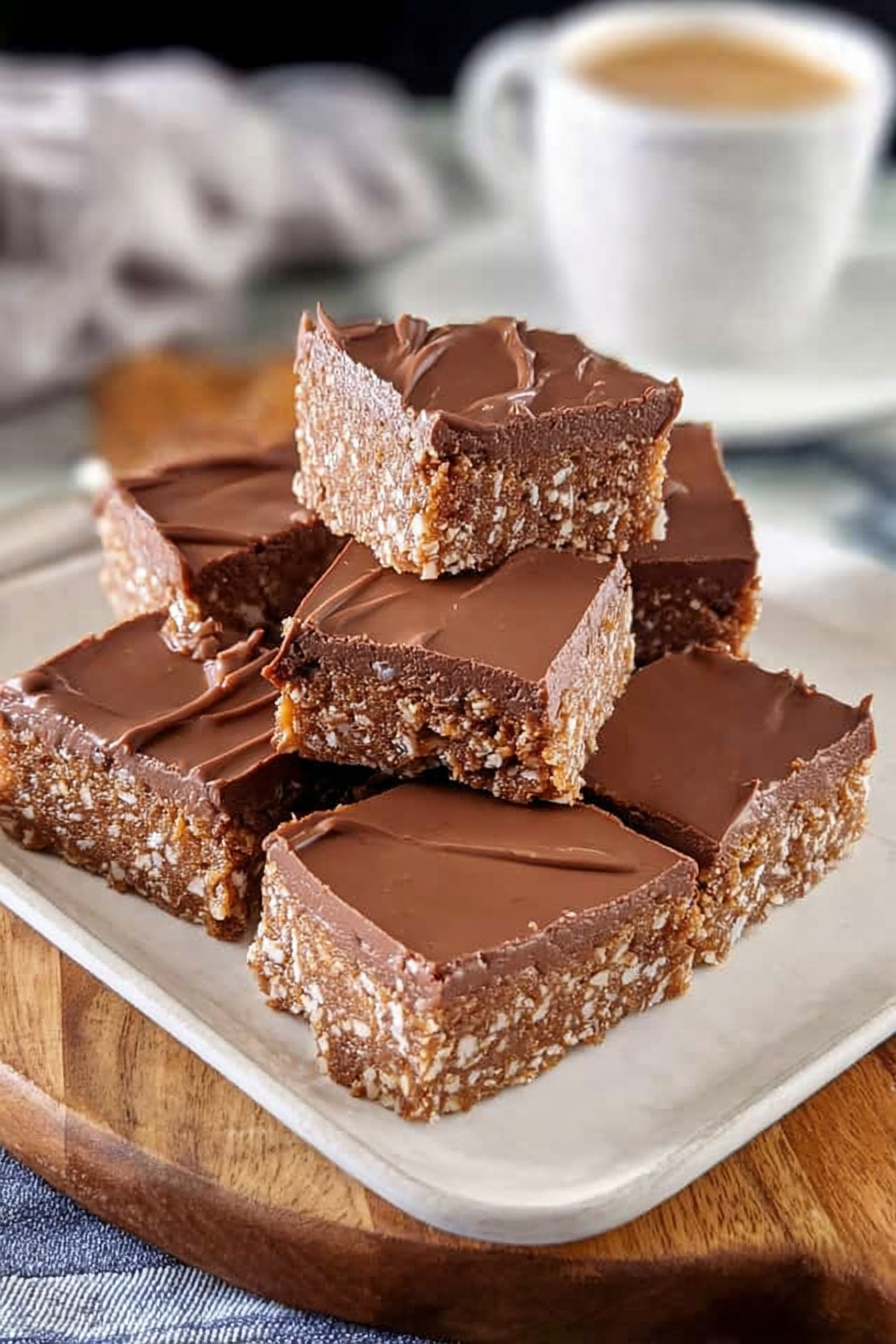
Oh my goodness, have you ever tasted a Coffee Slice? It’s like a little slice of heaven, a caffeine-fueled dream materialized into a deliciously decadent dessert. Prepare yourself for an explosion of coffee-infused joy.
This recipe isn’t just about making a Coffee Slice; it’s about conjuring up memories of cozy afternoons spent with loved ones, the warm aroma filling your kitchen with happiness. It’s a taste of comfort and pure, unadulterated deliciousness.
Here are four reasons why you absolutely MUST make this Coffee Slice:
It’s incredibly easy to whip up, perfect for even the most novice bakers.
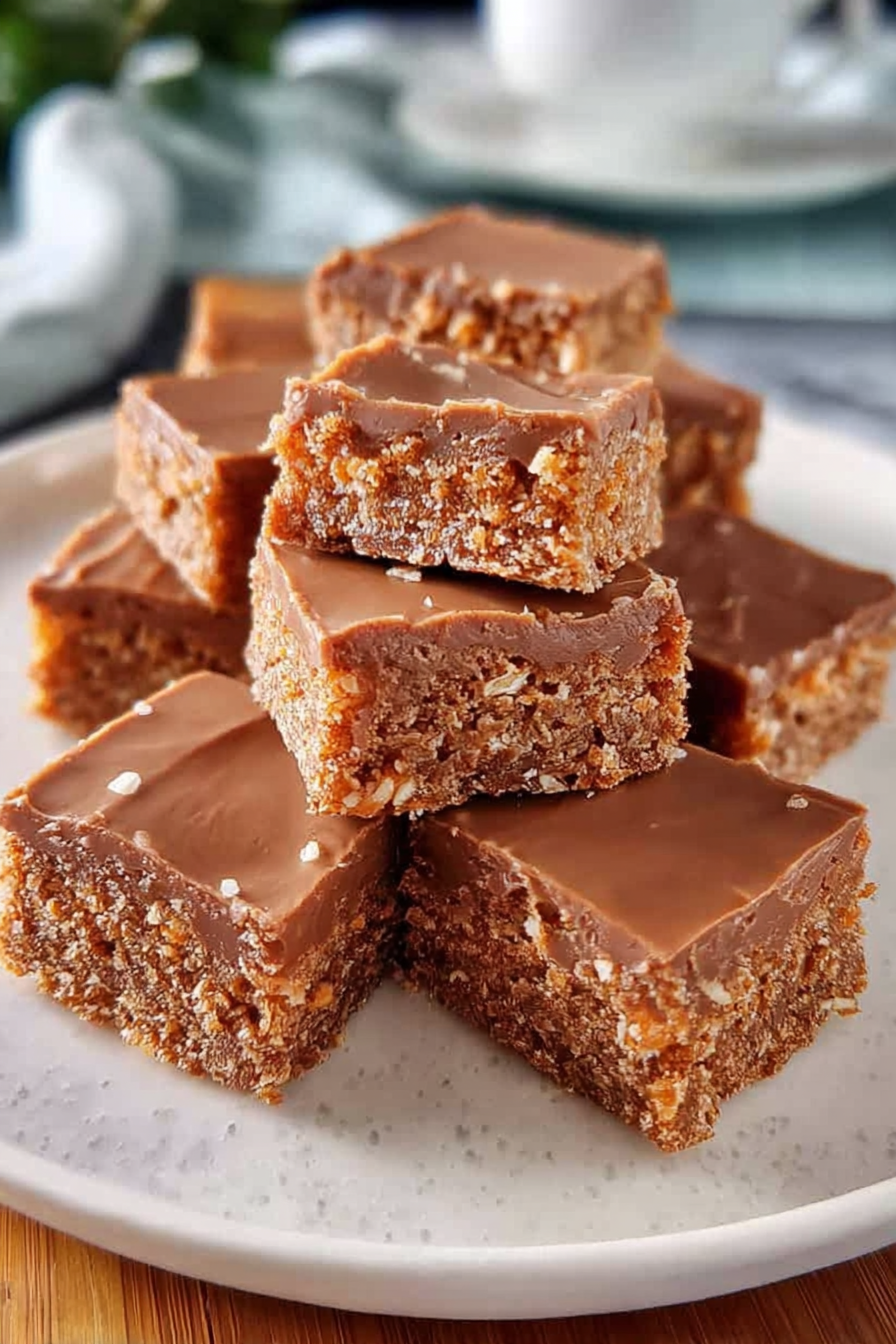
The rich coffee flavor is beautifully balanced by a subtly sweet base, creating a symphony of taste.
The visual appeal is undeniable; the perfectly layered dessert is a feast for the eyes.
This recipe is incredibly versatile; you can adjust the sweetness and coffee intensity to your preference.
Ingredients for Coffee Slice
Here’s what you’ll need to make this delicious dish:
The full ingredients list, including measurements, is provided in the recipe card directly below.
How to Make Coffee Slice
Follow these simple steps to prepare this delicious dish:
Step 1: Preheat & Prep
Preheat your oven to 350°F (175°C). Grease and flour a 9×13 inch baking pan. This prevents sticking and ensures easy removal later.
Step 2: Dry Ingredients
In a large bowl, whisk together the flour, sugar, baking powder, instant coffee granules, cocoa powder, and salt. Make sure everything is well combined to avoid lumps.
Step 3: Wet Ingredients
In a separate bowl, whisk together the milk, oil, and Alcohol-free vanilla extract. This ensures that the wet ingredients are evenly distributed.
Step 4: Combine
Gradually add the wet ingredients to the dry ingredients, mixing until just combined. Overmixing can make the Coffee Slice tough.
Step 5: Agar-Agar Magic
In a small bowl, whisk together the agar-agar powder with a small amount of the boiling water until smooth. Then, add the rest of the boiling water, stirring until the agar-agar is fully dissolved and the mixture is clear. Let it cool slightly before stirring it into the batter.
Step 6: Bake & Cool
Pour the batter into the prepared baking pan and bake for 25-30 minutes, or until a toothpick inserted into the center comes out clean. Let it cool completely before cutting and serving. You can drizzle with coffee syrup (optional) for extra deliciousness. Serve and enjoy!
Perfecting the Cooking Process
First, prep your filling: saute the chicken and veggies. Next, whip up the coffee-infused custard, ensuring it’s smooth. Finally, assemble your Coffee Slice, baking until golden brown and the custard is set. This sequence ensures everything is perfectly cooked and complements each other.
Add Your Touch
Feel free to experiment! Swap chicken for beef or lamb. Add a dash of cinnamon or nutmeg for warmth. Consider adding chocolate chips or chopped nuts for extra texture and flavor. Your Coffee Slice, your rules!
Storing & Reheating
Store leftover Coffee Slice in an airtight container in the refrigerator for up to three days. Reheat gently in the microwave or oven until warmed through, avoiding overcooking. Enjoy!
Preheat your oven to the correct temperature before you begin, this prevents uneven baking.
Don’t overmix your custard; a few lumps are okay, it adds texture.
Let your Coffee Slice cool completely before slicing; this prevents a messy, crumbly dessert.
I remember the first time I made a Coffee Slice. My friends were blown away. They said it was the best dessert they’d ever had.
(Personal anecdote formated as paragraph subheading)
My grandmother’s recipe inspired this Coffee Slice. Her secret? Using high-quality coffee for the richest flavor. It was always a family favorite.
Conclusion for Coffee Slice
This Coffee Slice recipe offers a delightful blend of rich coffee flavor and a wonderfully moist texture. The use of plant-based gelling agents ensures a delicious treat that caters to a wide variety of dietary preferences. Remember to use high-quality ingredients for the best results, and don’t be afraid to experiment with different coffee roasts to find your perfect flavor profile. Making this Coffee Slice is fun and relatively simple – get baking today! Enjoy!
Print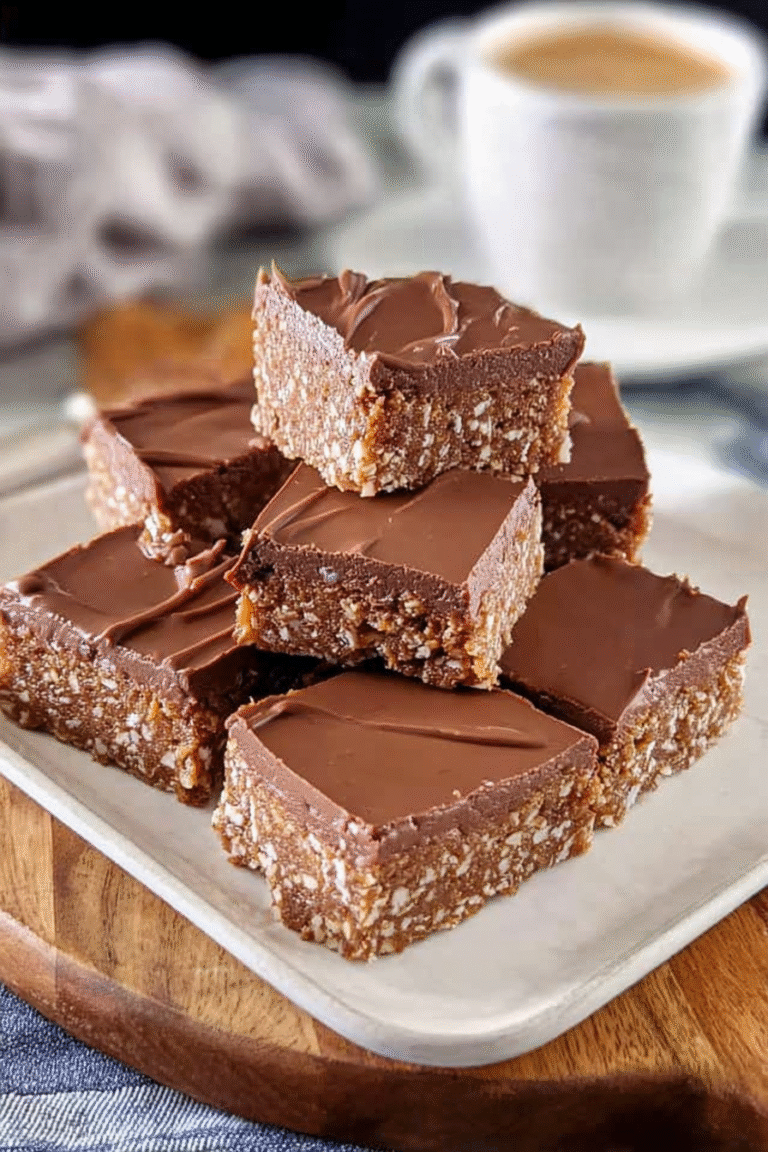
Coffee Slice
Delicious coffee slice recipe with detailed instructions and nutritional information.
- Total Time: 35 minutes
- Yield: 4 servings 1x
Ingredients
- 1 cup (2 sticks) unsalted butter, softened
- 1 cup granulated sugar
- 2 large eggs
- 1 teaspoon vanilla extract
- 1 3/4 cups all-purpose flour
- 1/2 cup unsweetened cocoa powder
- 1 teaspoon baking powder
- 1/2 teaspoon baking soda
- 1/2 teaspoon salt
- 1 cup strong brewed coffee, cooled
Instructions
- Step 1: Preheat oven to 350°F (175°C). Grease and flour a 9×13 inch baking pan.
- Step 2: In a large bowl, cream together the softened butter and sugar until light and fluffy. Beat in the eggs one at a time, then stir in the vanilla.
- Step 3: In a separate bowl, whisk together the flour, cocoa powder, baking powder, baking soda, and salt. Gradually add the dry ingredients to the wet ingredients, mixing until just combined. Be careful not to overmix.
- Step 4: Gradually add the cooled coffee to the batter, mixing until just combined.
- Step 5: Pour the batter into the prepared pan and spread evenly.
- Step 6: Bake for 25-30 minutes, or until a wooden skewer inserted into the center comes out clean. Let cool completely before cutting into squares.
Notes
- Store leftover Coffee Slice airtight at room temperature for up to 3 days, or freeze for longer storage.
- For a warm, gooey treat, microwave individual slices for 15-20 seconds, or until heated through.
- Serve Coffee Slice with a dollop of whipped cream or a scoop of vanilla ice cream for an extra decadent indulgence.
- To avoid a dry slice, ensure your coffee is completely cool before adding it to the batter; the cold liquid prevents the gluten from developing too much.
- Prep Time: 15 minutes
- Cook Time: 20 minutes
- Method: Stovetop
- Cuisine: American
FAQs
Can I make this Coffee Slice recipe ahead of time?
Absolutely! In fact, the flavors actually meld beautifully overnight. Make your Coffee Slice a day or two before you plan to serve it. This allows the coffee to really infuse into the cake, creating a more intense and delicious flavor. Just store it in an airtight container at room temperature. You’ll be amazed at how much better it tastes after a little time to rest! This also helps if you’re pressed for time – prepping ahead takes the pressure off.
What can I substitute for the plant-based gelling agent?
While agar-agar is our recommended plant-based gelling agent for this Coffee Slice recipe, you could potentially experiment with pectin or carrageenan. However, keep in mind that each gelling agent has slightly different properties. You might need to adjust the amount used, or even the cooking time, to achieve the desired consistency. Be prepared to test the outcome. Using agar-agar provides a great consistency for this coffee slice and we recommend that you try it! We’ve included that for a reason, trust us!
Is this Coffee Slice recipe gluten-free?
This Coffee Slice recipe, as written, is not inherently gluten-free. The recipe calls for all-purpose flour. To make it gluten-free, you’ll need to substitute a gluten-free flour blend. Many are available commercially. Experimentation might be needed to achieve the perfect texture, as gluten-free flour blends behave differently than traditional flour. Start by swapping a cup for cup substitution of your chosen gluten free flour blend. Remember to check the specific instructions on your chosen blend.
Where can I find the best coffee for this Coffee Slice?
The coffee you use significantly impacts the flavor of your Coffee Slice. For the best results, use a high-quality, freshly ground coffee. While pre-ground coffee will work, freshly ground coffee is generally more aromatic and flavorful. Don’t be afraid to experiment! You might find you prefer a bolder coffee roast, or a lighter and brighter one in your Coffee Slice. Ultimately, the perfect coffee for your Coffee Slice depends on your individual preference.


Leave a Comment